DIY Flower Tower

DIY Flower Tower

Hello! I’m Kelly and I blog at Here Comes the Sun. I’m very excited to be a contributor here at Live Creatively Inspired.  I’m a mom of   2 and I am living in my dream location at the beach in Wilmington, NC.  I have a love of all things chocolate,  summer beverages and 80’s music, especially the hairband ballads!
 
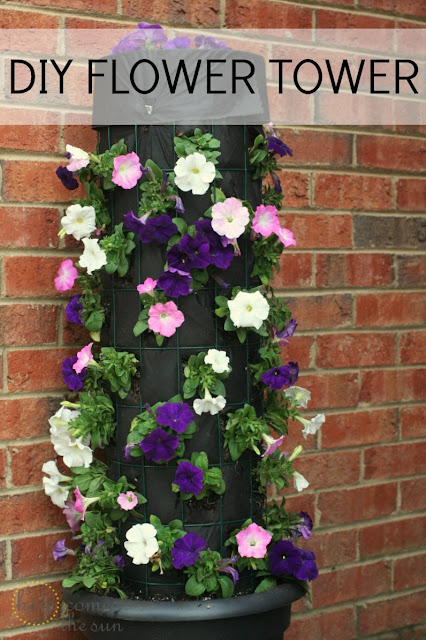
I’m also a sucker for tv commercials. Especially those home improvement store commercials where they show people tackling  outdoor projects. I just couldn’t resist making a flower tower this year. In past years, my porch decor has left a lot to be desired so I decided to ramp it up this year with a big statement piece: a DIY flower tower.
Here Comes the Sun: DIY Flower Tower
 
Now I will tell you that the flower tower isn’t the cheapest project. If you have some of the supplies already on hand it will help out a lot. 
 
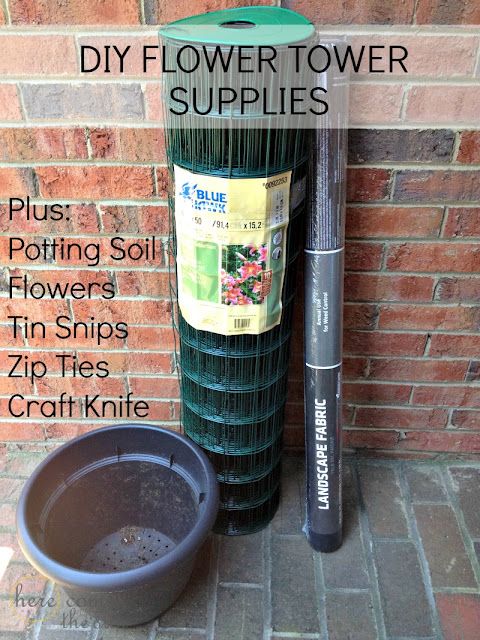
Here’s what you need:
 
Here Comes the Sun: DIY Flower Tower
 
12 inch pot
Landscape fabric (mine was 4’x50′)
Galvanized Wire fencing (mine was 4’x50′)
Potting Soil (64 qt. bag)
Tin snips/wire cutter
Zip ties (preferably black)
Gloves
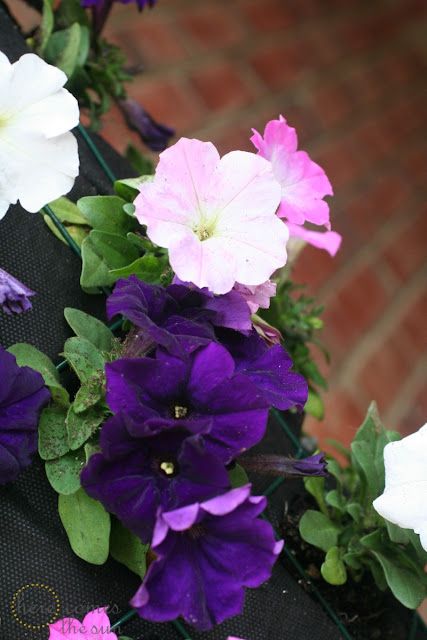
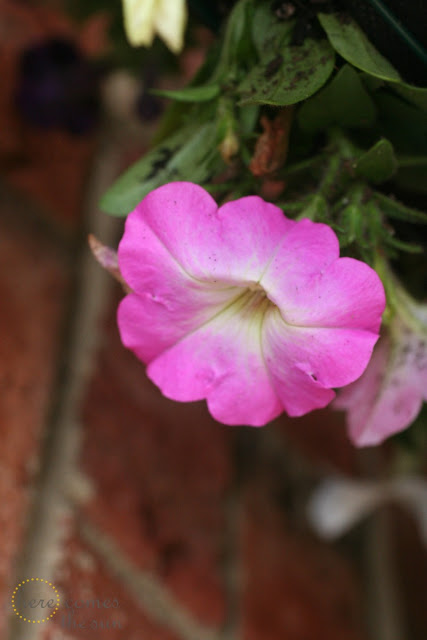
Flowers (mounding flowers like petunias work well)
Garden shovel
Craft/Utility knife
Here Comes the Sun: DIY Flower Tower


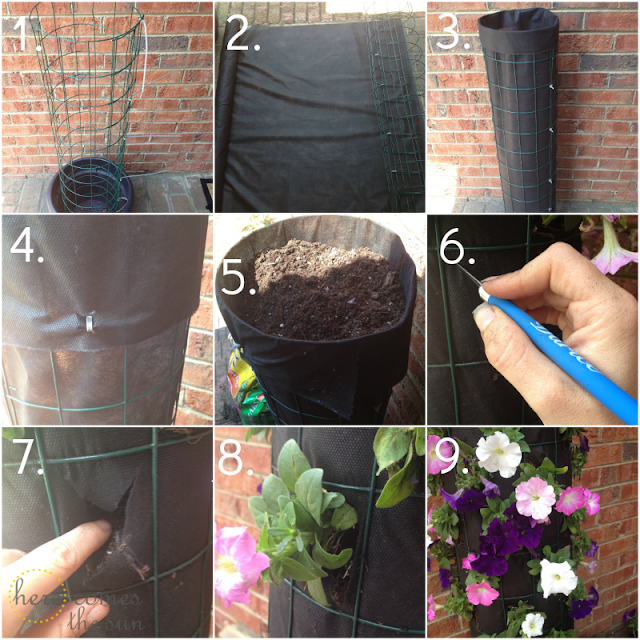
1. Unroll the wire enough to make a cylinder that fits snugly inside your pot.  Allow one square of overlap. Cut the wire with your tin snips and use zip ties to secure the wire together to form a cylinder.  Use enough zip ties to keep your cylinder stable.


2. Unroll the landscape fabric and cut it to a length so that it fits inside your wire cylinder. You can measure the length by rolling it around the outside of the cylinder and then cutting. Leave a bit of overlap so soil does not seep out the seam.

 
3. Place the landscape fabric inside the wire cylinder and fold it over the top of the galvanized wire fencing.
 
4. Using your craft knife, cut two slits through both layers of fabric, one above the metal rim and one below. Thread a zip tie through the slits to secure the fabric to the wire. Repeat on opposite side of the cylinder.
 
5. Now it’s time to fill your flower tower will soil. If you are strong enough to lift the bag of soil, you can just pour it in. Fill it 1/3 of the way and then water your soil. Fill another 1/3 and water again and then another 1/3 and water. If you are like me and the bag is a bit too heavy, just use a garden shovel or your hands to fill it up.
 
6. Using your craft knife, cut an “X” within one of the wire squares. 
 
7. Use your finger to dig out some space for your flower.
 
8. Plant the flower into the hole and close the flaps of the landscape fabric around the stem to prevent soil from seeping out when watering. Leave the bottom row of wire squares free of flowers so the other flowers can cascade over the edge of your pot.
 
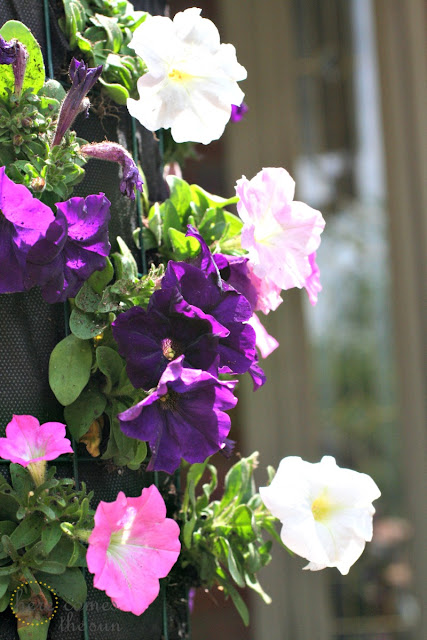
9. Continue inserting flowers all around the tower, leaving one space between each flower. Your flower tower will look sparse at first but as the flowers grow, they will drape over the empty spots and it will look fuller. This is why you should pick a mounding flower. I bought 4 flats of flowers and I have just enough for 2 flower towers.
 
Here Comes the Sun: DIY Flower Tower


Here Comes the Sun: DIY Flower Tower


Here Comes the Sun: DIY Flower Tower
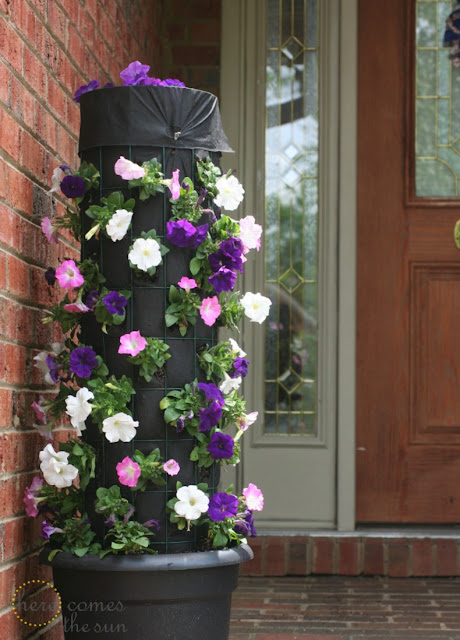
To finish off your flower tower, you can plant some flowers on the top and around the base.
 
Here Comes the Sun: DIY Flower Tower
 
I can’t wait to watch the flowers grow on fill in.  This is going to be such a beautiful addition to my porch.
 
Have you created a flower tower this year? 

To see another one of my planter projects, check out my Wheelbarrow Planter.
 
Don’t be a stranger! Keep in touch with me here.


Like what you see? Don't miss anything.

Follow us!

LCIPINTEREST LCIFEED LCIFacebook

Pinterest Email Facebook

Comments

  1. Welcome to LCI, Kelly! So glad to have you. And I love this flower tower. I’m inspired!
    Sharon recently posted…DIY Boxwood TopiaryMy Profile

  2. This is wonderful! I’m truly inspired to try this! Can’t wait to see it fill in!!~~Angela
    Angela recently posted…Plaster of Paris flowers–Nicole’s skirt fix!!My Profile

  3. Such a beautiful idea! It’s going to look so pretty all summer.
    Megan @ Our Pinteresting Family recently posted…Rope Wrapped VaseMy Profile

  4. What a cool project and seems easy enough to do! I want to try this with impatiens. I still have about a flat of them left. Thanks for the idea!
    Jennifer @ Town and Country Living recently posted…5 Easy Steps to Make French Lavender SachetsMy Profile

Speak Your Mind

*

CommentLuv badge

Follow

Get every new post delivered to your Inbox

Join other followers