

Hi everyone!
I’m so happy we’re into April because I love making Spring crafts. For the past two years, I’ve enjoyed making Easter eggs to display for both Easter and as part of our Spring decorations in our home.
Today I’ll show you how easy it is to create Speckled Glitter Easter Eggs. With a packet of foam eggs you can find at the dollar store plus some glitter paints, you’ll have yourself a pretty set of speckled eggs in no time at all.
Let’s get started!
Supplies:
Foam eggs
Toothpicks
Foam pad or packaging
Craft paint (I used Martha Stewart Multi-Surface Paint in Jonquil)
Glitter paint (I used Martha Stewart Multi-Surface Glitter Paint in Yellow Barite)
Paint brush
Small recycled lids to hold your paints
Tutorial:
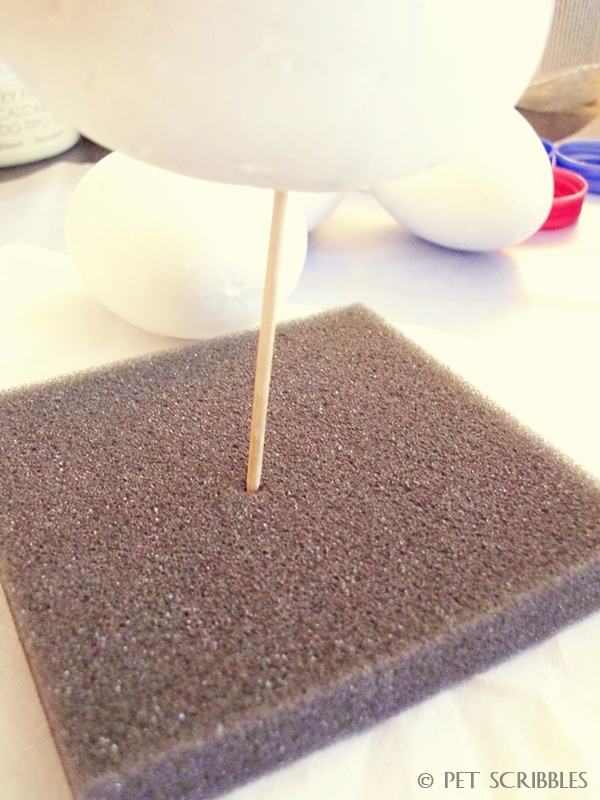
Step One: Take your foam eggs and stick a toothpick into them. This will help you easily paint the eggs without needing to awkwardly hold them with your fingers. Always a good thing!

I save everything. You just never know when you might need certain things. One of the best things I’ve saved are foam pieces that come in packaging. These came in handy for this project, as they are perfect to stick the toothpicks in for the eggs to dry. Easy peasy!
Step Two: Paint the eggs with one coat of craft paint. Let dry.

You’ll notice small lids in some of these pictures holding my paint. I’ve found this to be such an easy solution for my craft projects. I only squirt out small amounts as needed, and these lids can be washed and reused over and over again.
Here’s a close-up shot of a painted foam egg:
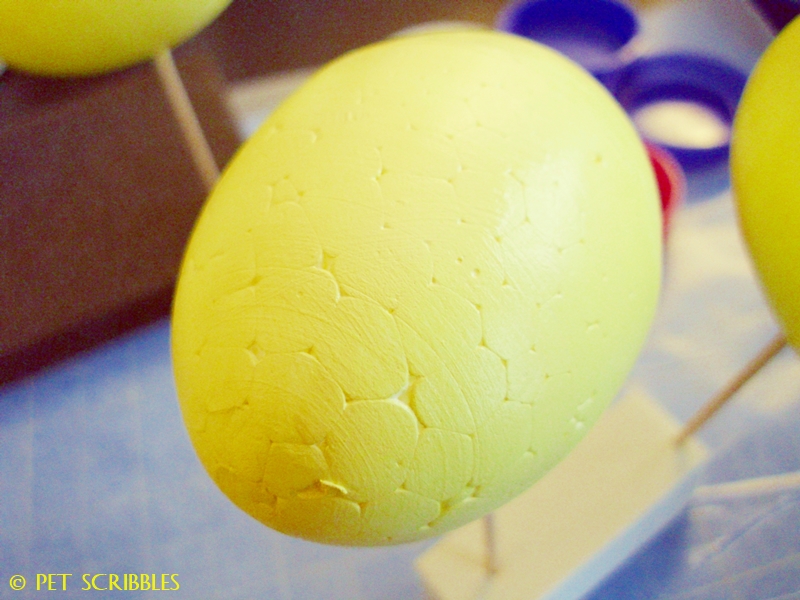
You can see the foam details through the paint, but don’t worry as this will be hidden with the glitter paint in the next step.
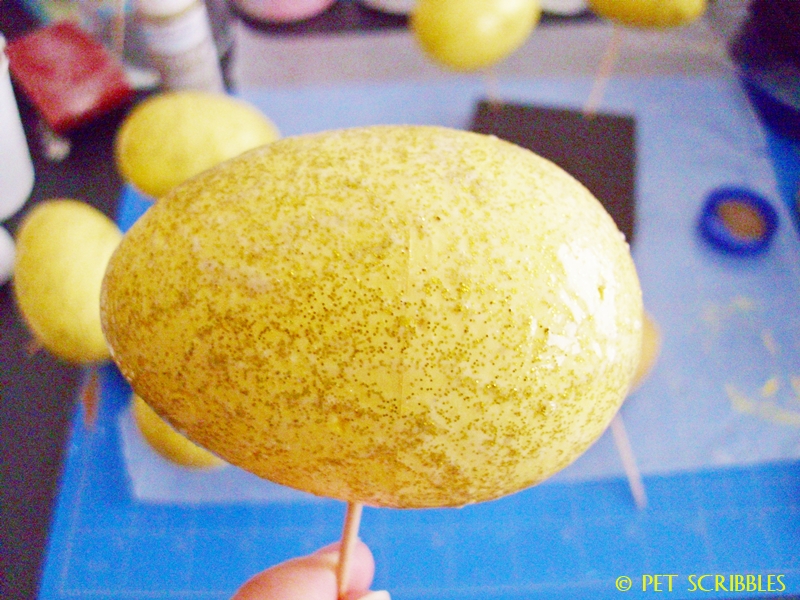
Step Three: Apply one coat of a matching glitter paint onto each egg. Let dry.
First, I applied the glitter by sort of globbing it on with a paint brush. You can sort of see one of the globs (such a great word) in the picture, below. The wrinkled area on top of the egg is actually the wet globby glitter paint:

Next, I used the side of the paint brush to pat the glitter paint around onto the painted egg’s surface:
This results in a nice texture and more of a speckled look.
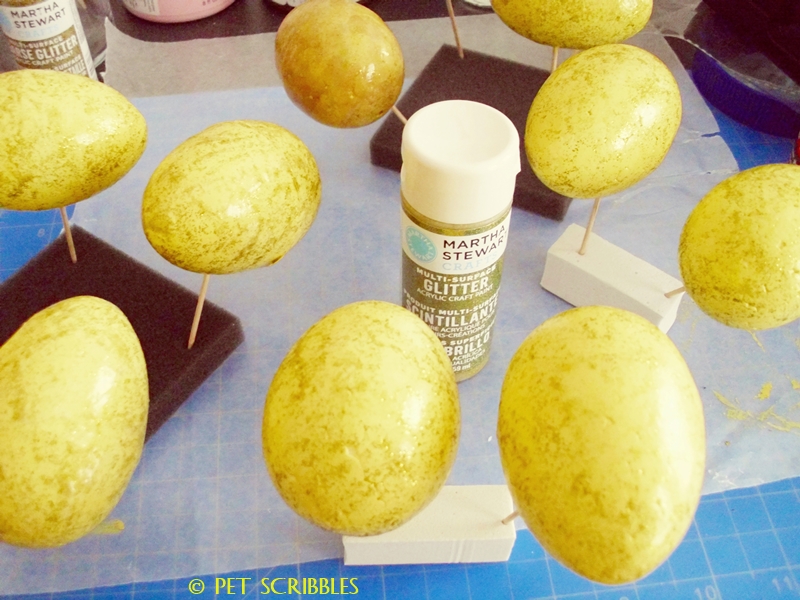
The glitter paint will dry clear, leaving you with a sparkly surface!

And that’s all there is to it!
I chose to paint my speckled glitter Easter eggs in a sunny yellow color, but you could come up with endless variations on this depending on the colors you choose and the glitter paints you apply on top of the paint colors.
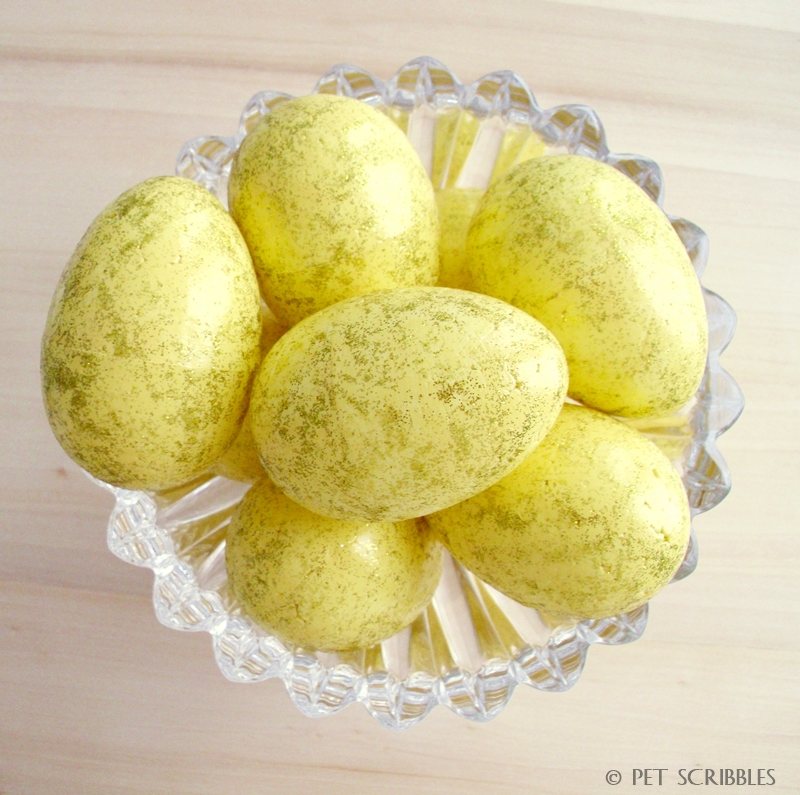
I’m displaying these eggs in a Tiffany crystal bowl we received as a wedding gift years ago.

I like the idea of dollar store foam eggs being all gussied up and deserving of their special bowl!
If you want to see a few more of my egg decorating DIYs, click on any of the pictures below:


Happy egg decorating!
~Laura


These are so cheerful and pretty! The toothpicks are brilliant!
Thanks Jenny! I had previously used wooden skewers when painting Styrofoam cones, so I wondered if smaller versions – i.e. toothpicks – would work! 🙂 Happy that they did!
Laura / Pet Scribbles recently posted…Speckled Glitter Easter Eggs Tutorial
Oh, how pretty, Laura! I love the sheen from the glitter paint and the “speckled”, rather than “glittery-y”, look that the glitter paint gives the eggs. And isn’t that the best shade of yellow *ever*?!
Having little experience with paint, I’m not sure what the “edge of the paint brush bristles” is.: (
What a gorgeous bowl! I love cut glass/crystal. I have a small collection of vintage cut glass, which my grandmother collected, that I treasure.♥
xoxo
Thanks Pat! I’m going to edit my post above, to say “side of the paintbrush” rather than “edge” because that’s what I used and I’m not sure why I said “edge” to begin with! LOL I bet your collection of vintage cut glass is beautiful! Happy Easter!
Laura / Pet Scribbles recently posted…Chippy Paint Antique Secretary Desk